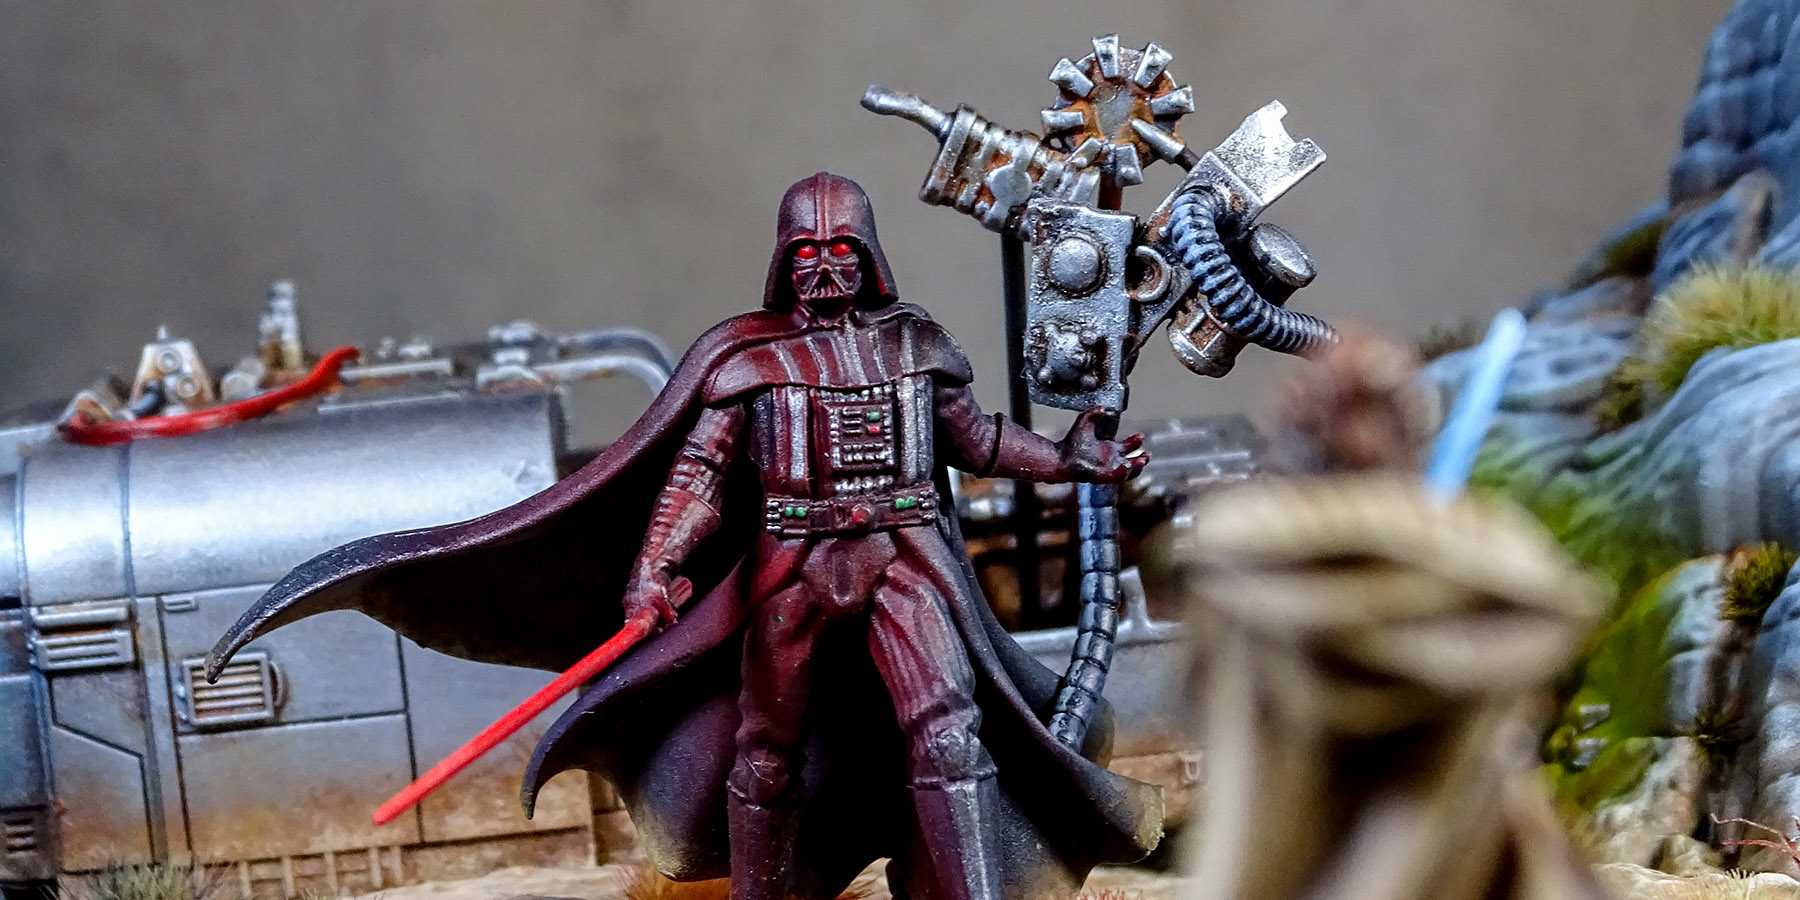
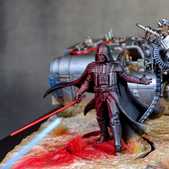
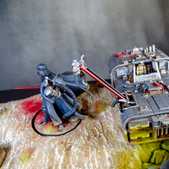
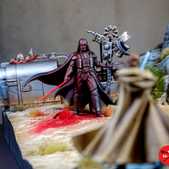
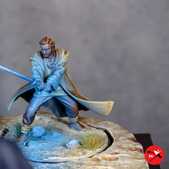
There is no more embittered rivalry than the one between Jedi Master Obi-Wan Kenobi and Darth Vader, the emperor's most terrifying enforcer and apprentice. Their duels have shaped the very course of history. Clashing with unmatched intensity, each knows every strength and weakness of the other.
This post will be a little different as I normally detail all the paints and techniques I use. For this piece I really didn't have much of a plan, and that had been putting me off from painting it as I really didn't want to ruin it as having watched the show and with the history of the films it's a really cool collectors piece.
I went back to the show to try and determine the colors but it's shot at night and to me that made it feel both harder to replicate and a bit of a shame to have the diorama toned down that much. What I did take away however was the glow of the lightsabers and how the OSL really dominated the scene.
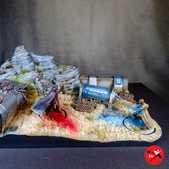
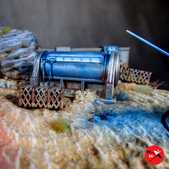
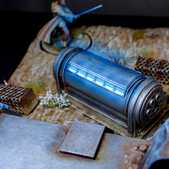
To start with I put down the usual browns and bone colors with the airbrush to get the sand right, spray at a tighter angle each time to leave the recesses darker so I wouldn't need to go in with a wash as I didn't want to make it patchy. In the end I did add a very thinned wash to the larger deep patches just to help bring out that contrast and stop the scene looking too bright.
Again looking at the reference the rocks at the back in the tv show are the same color as the sand that makes sense. However with the base color down I felt like the piece would look too plain if 90% of it was the same color so I decided to go over the rocks with my usual go to rock greys. Once again I added a thin wash to the recesses and drybrushed the most raised points to both up the contrast as well as help tie the rocks and the sand together.
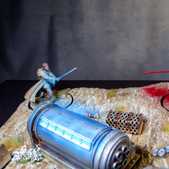
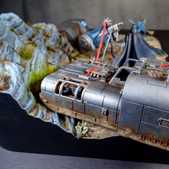
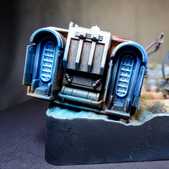
With the sand and rocks done I next moved onto the metallics, focusing on the cars and buildings. Once again I used the airbrush starting with some dark metals and working my way up to a much brighter silver than I would normally use. I then really heavily covered everything with Dirty Down Rust, and once dried roughly wiped it off leaving a fair bit behind around the recesses as well as the odd patch.
I believe I may have added some recess shading in some areas afterwards but I think that was about it, maybe a small amount of drybrushing to bring some edges back but that was about it. With that done I picked out the odd bits of detail like cables and the seat on the vehicle, and then I was ready to add some OSL.
I roughly blocked the light sources with white, then airbrushed the areas with a light blue, moving to a darker blue as I got further away from the light sources. I may have gone over the top in some areas but I really wanted to bring more color to the piece and see what the airbrush could do.
I did the same with the front headlights with yellow and orange, although looking at the final piece now I wish I did it with a red as I think having three colors make it feel like a bit of a disco, and being red instead would have helped balance the glow matching each lightsaber.
With the painting of the scenery done I then added some grass tufts and other plants to help break up the large areas of sand and rock. With that done it was time to paint the characters, the bit I had been dreading!
I looked over so many photos of Darth Vader and I was a bit horrified by just how black most of his suit is. Normally I pick out details using different colors to draw the eye, but for him it's largely visible from the lighting. I'm well aware that when I normally highlight black I use brighter and brighter bluey greys to the point it doesn't really look black any more. I couldn't take that approach for Darth Vader as he really does need to look black for the piece to work.
I ended up going with much darker shades of blue grey than I normally would use and was very light with the airbrush. I mainly focused on the cloak and around the helmet. I then used maybe the darkest color I would normally use for the brightest edge highlights, mostly around the face and chest.
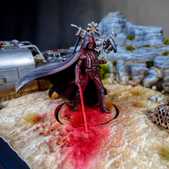
So that it didn't look like he was floating on the scenic base I then drybrushed some of the sand colors onto his feet and the very bottom edge of his cloak. I then held my breath as I took out the airbrush and added the red paint for both the lightsaber and the OSL.
The plan was to use the red both for OSL but to also pick out the highlights without them looking too bright or too blue. I ended up only using a couple of reds as I really didn't want to overdo it and actually I think I may have got it near perfect. As his suit is shiny it does reflect light more so it covers a larger area, picking out the details while the brighter areas draw your gaze to his face and hand. The glow really helps to tie him to the base as well.
To finish him off I added a black wash over some areas just to tone them down a bit, and added some silver for the metallics and some green and reds for the lights.
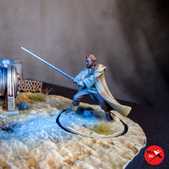
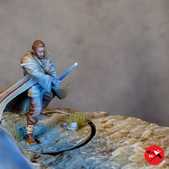
I then went through a very similar process for Obi-Wan. I went with similar but slightly different browns and bone colors to make him blend in with the environment to a certain extent, but not to the point where he would be lost in the diorama.
Once again I added the weathering around his feet and cloak, then this time went in with the blue. This time with it being on a pale surface rather than black I ended up putting it on too strong. It doesn't look terrible, but as his clothes would be far more matt than Vader the effect should look much more subtle and if anything it's stronger. It would probably look fine for a night scene like in the film, but again for how I've painted things it should be much weaker.
However despite that I do like the balance of it against Vader, and as he does blend in with the sand it does help to draw your eye to him well. I decided to stick with it, although I did try to tone down the sand so much as I hadn't got the angle right to start with and the area it covered was far too large.
And with that the diorama was done. I had planned to spend far longer on it, but in the end I think I mostly completed it within a couple of days. I had seen it as a big scary project, but in the end just getting stuck in and not trying to plan it in perfect detail really helped. I think with the airbrush paint goes down much quicker and it runs away from you a little bit as you keep seeing where you can add new colors or you need more shadow or highlights.
As this is a one off piece I don't mind having not tracked the paints I used and it allowed me to work quicker at the time. Don't worry though, for future projects I will be keeping my usual log of paints used. Overall for the time I put in I'm really happy with the outcome and it's great to have it on display rather than hidden away. I will have to see if I pick up any more Shatterpoint miniatures in the future...
