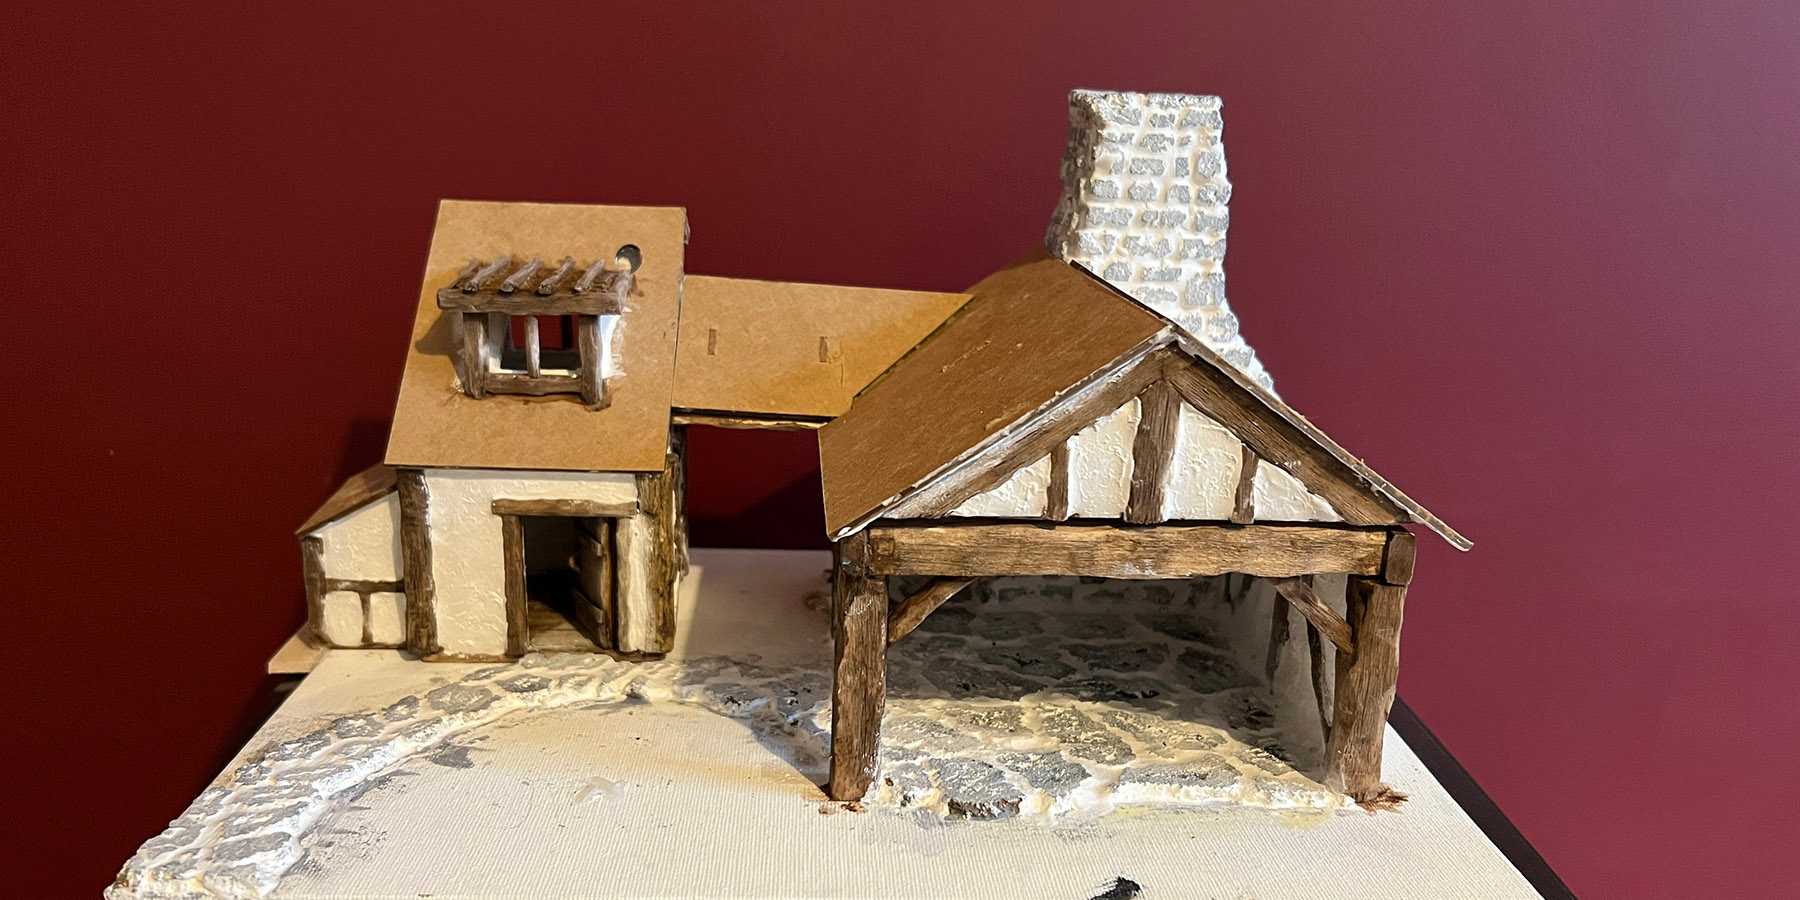
Before starting the plastering I decided to add the base colors for the wood and the brick.
For the wood I used a wood stain paint after spraying the balsa wood first to help the stain to flow over the wood. This was just a thin coat for now to get the base color down before applying the plaster. I'll come back to this with further coats later on.
For the stone I mixed the white and black paints into a few shades of grey and applied them randomly across the stones and brick using a sponge to add a bit of character. Again this is just a base coat so will be improved upon later.
Then for the plastering I did lots of small batches of PermaStone mixed with water at a ratio of 2:1. Every time making a new batch you have to clean out the tub you're mixing it in, otherwise it causes the new batch to dry out super fast. Before applying the PermaStone to the building you need to apply a layer of wood glue, otherwise the PermaStone won't grip well to the surface and can fall away when it dries.
With the glue down the plaster mix is applied between the bricks and the beams with a teaspoon, using the sculpting tools to get it into the edges when needed. You want to apply it so it is recessed from the stones and wood to avoid making the walls too flat, and any excess that is spilt onto the wood or other areas can easily be cleaned off with a wet sponge.
After letting it dry for around 15 minutes I came back with the sponge and gently dabbed it to create a texture on it. In areas I let dry too long I dabbed some wet plaster over the top to try and create a similar effect.
For areas where the is no edge in most cases I used tape to create create the edge for the plaster to flow against and removed it afterwards. In some cases where two building pieces joined together I simply applied the plaster with the pieces connected, then after applying the texture before it dried I very carefully split them apart.
The same technique was also used to fill in the paving slabs on the floor.


