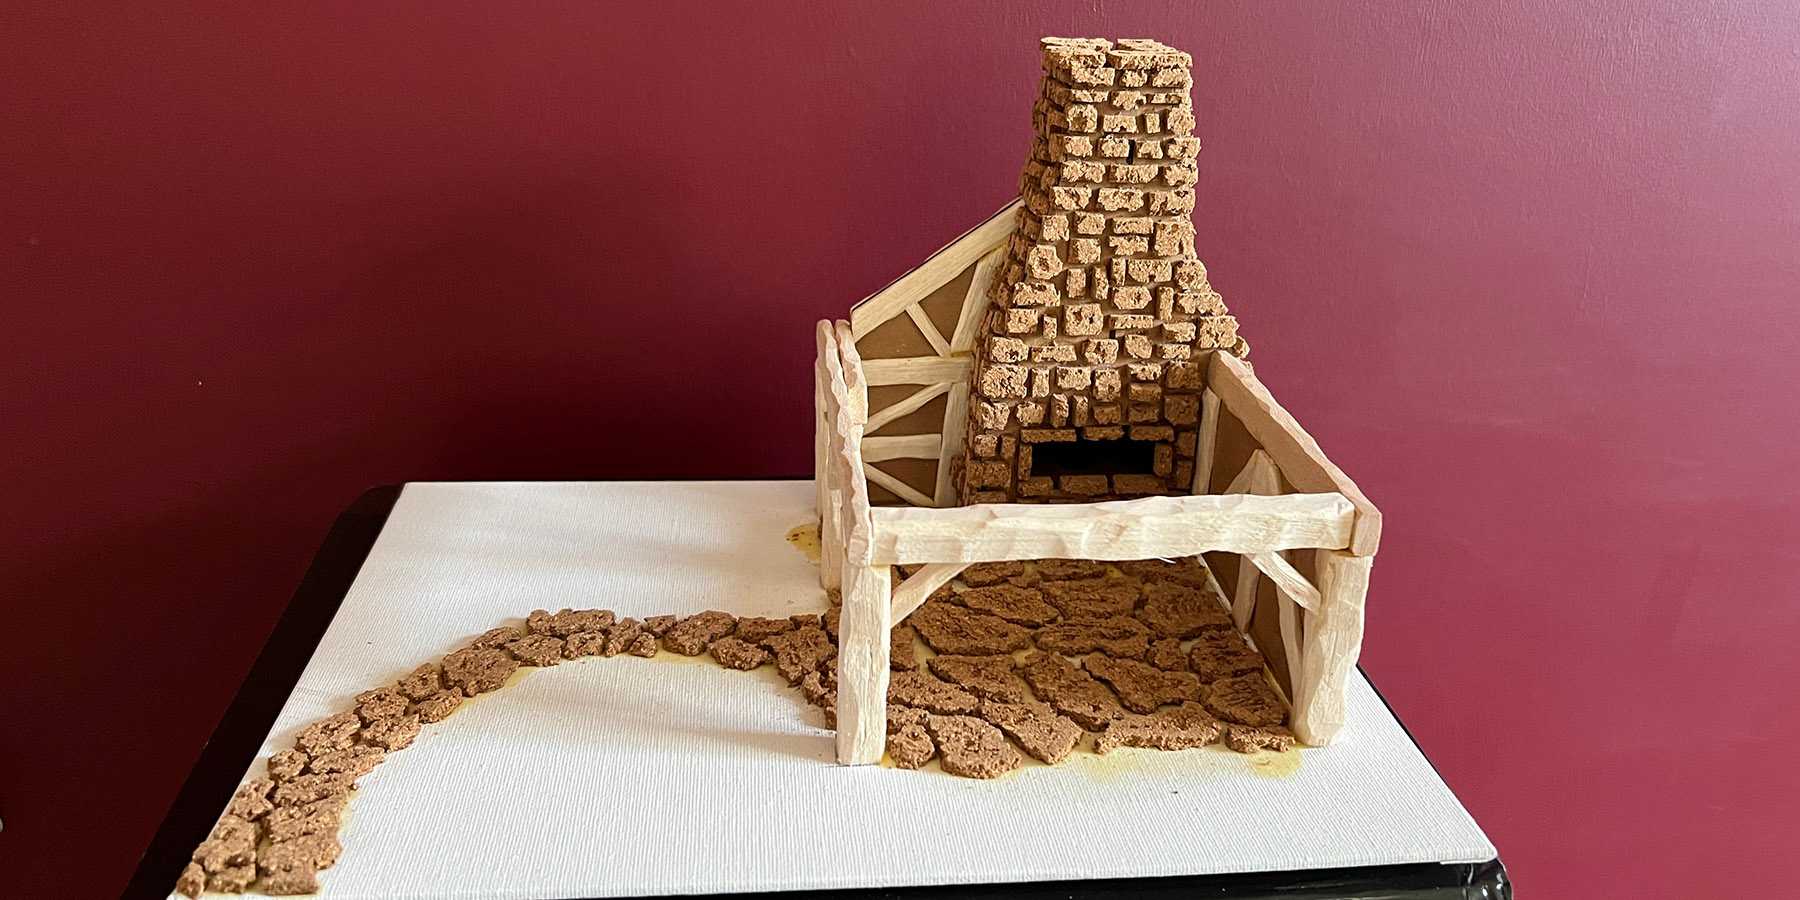
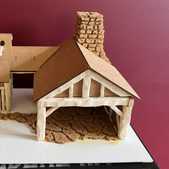
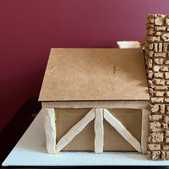
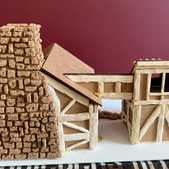
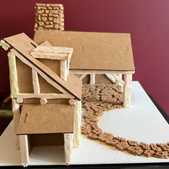
This stage involved taking the corkboard and cutting out various thickness strips. I then cut these strips into various length brick sizes, then roughed them up with my nails smoothing the edges and picking holes in them to make them look a bit more realistic.
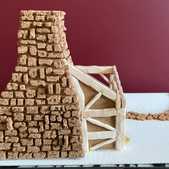
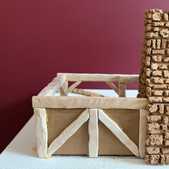
With the bricks ready I used superglue to glue them to the corners of the chimney, starting from the bottom and alternating the side the brick would overlap for each layer to create a staggered joint effect. I then worked my way into the center, occasionally placing bricks on their side so they stick out a bit more adding some variation.
For the fireplace I cut longer thinner bricks and went all round the outside of it. For the top of the chimney I cut much larger bricks and placed one in each corner forming almost a spiral. I also cut a larger slab to go over the top later on.
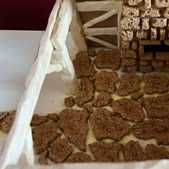
With the chimney done I then moved onto the flagstones for the floor. These were made in a similar way to the larger stones at the top of the chimney, but with a bit more variation while trying to maintain a few millimeter gap between them all. I started within the blacksmith itself, then added a path leading out to where the front door would be then out the corner of the base.
