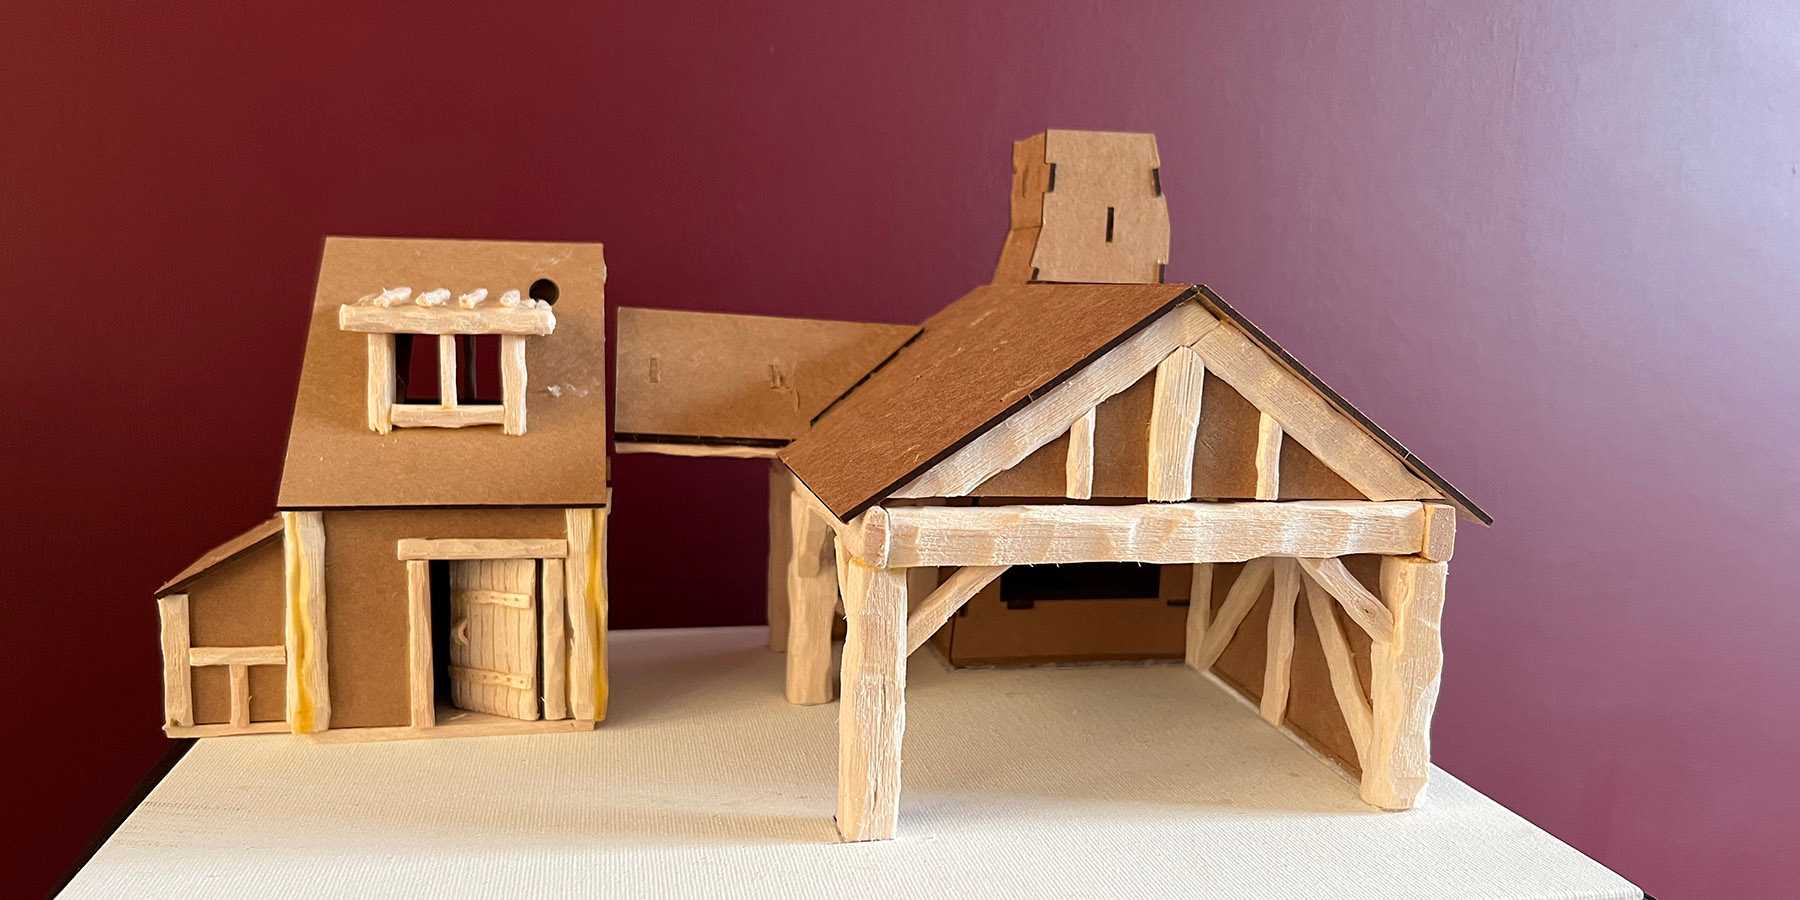
Steps
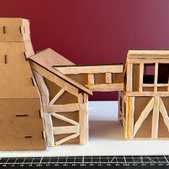
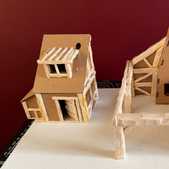
The first part was to hot glue the chimney section to the base. The house was left unattached for now, as it would need to attach to the side of the blacksmith that hasn't ben built yet.
Next was to cut out the four corner posts of the blacksmith. To make them more realistic a hobby knife was used to shave down both the edges and flat surfaces to give them a more natural feel. I used my fingernail to pick at a few spots to cause imperfections to the wood. Finally I ran the wire brush over each side a few times to introduce the grain of the wood. I repeat these steps for all wooden pieces moving forwards.
Once looking like real wooden beams they were hot glued to each corner of where the building would be.
Next cross beams were created in the same way as the corner posts and was glued to create a support for the roof. Then a number of 45 degree cross bracings were created to support those beams. With the main blacksmith structure complete, bracing was also added to the first floor of the house.
With the main structures complete, thinner balsa was used to apply further braces on both sides of the MDF in all areas. This makes them appear the same width as the braces already glued down, and adds the appearance of the extra support a real building wood require. In most places they were applied diagonally to provide the most support.
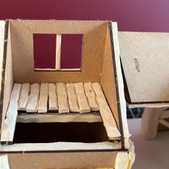
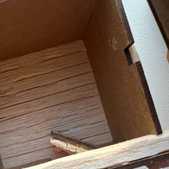
Finally even smaller pieces were added for the door, flooring and some of the roofing of the house. In some cases a larger flat sheet was cut out and the beams scored in using a sculpting tool rather than cutting out many planks of wood.
