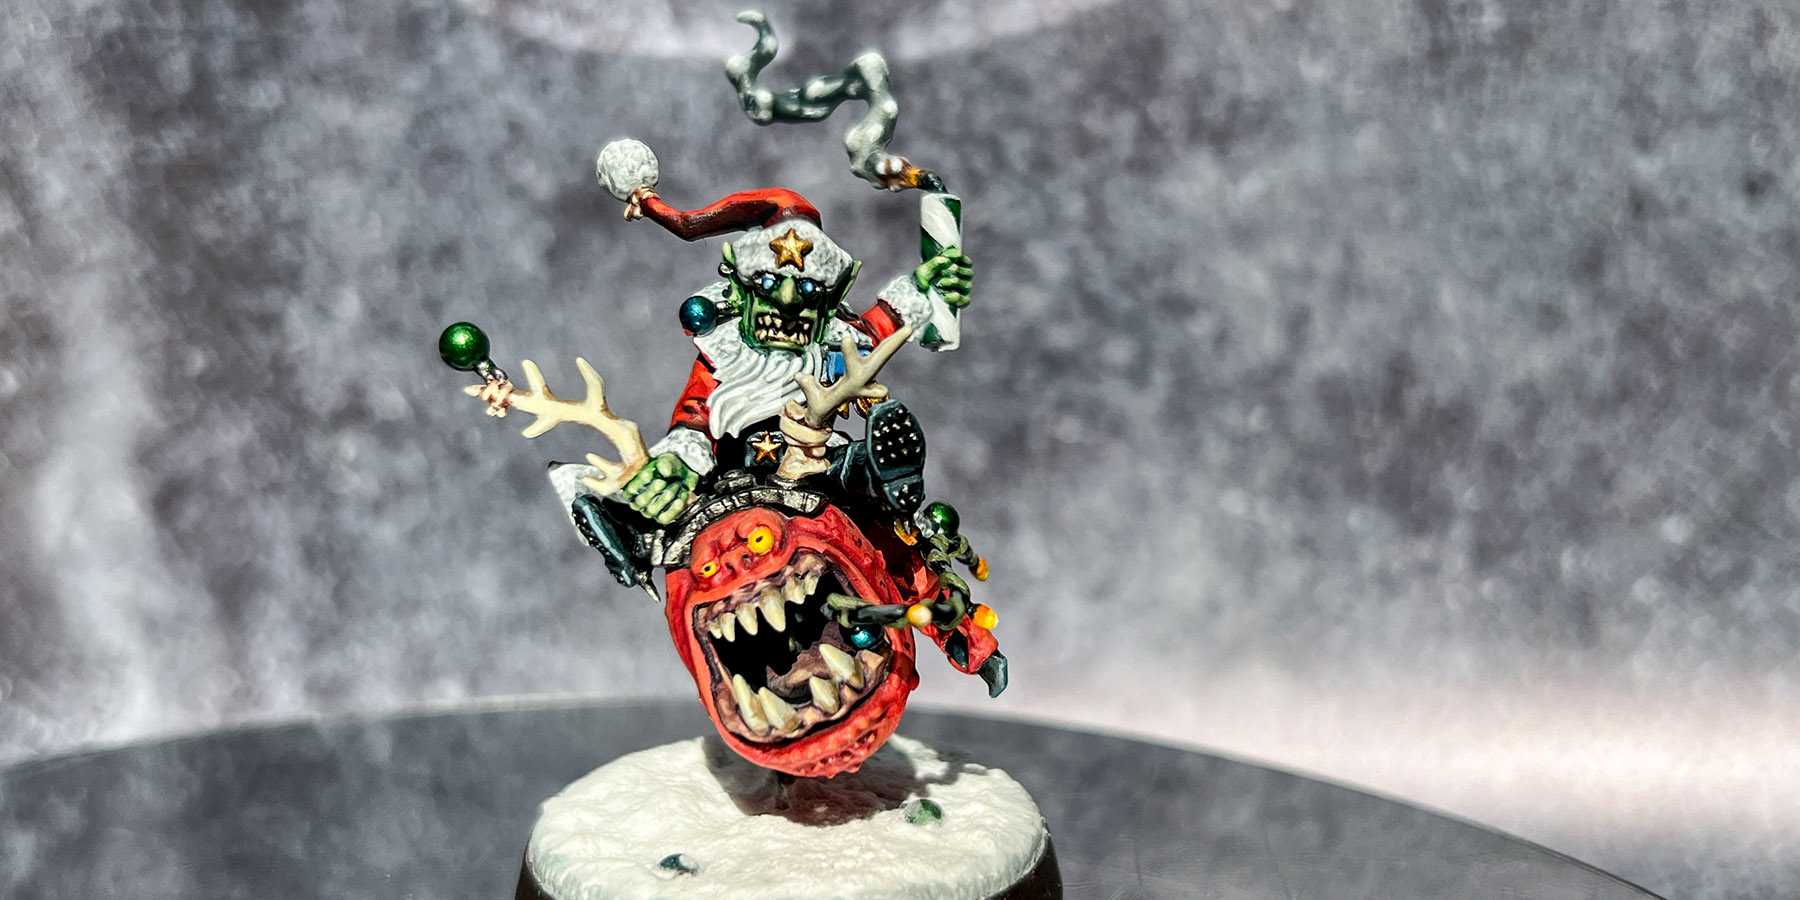
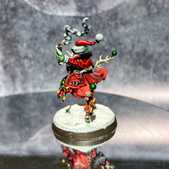
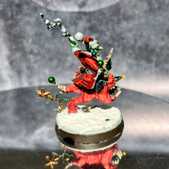
Da Red Gobbo is the leader of the Rebel Grots on Gorkamorka and is the head of Gretchin Revolutionary Committee (GRC or just Da Kommitte) of the grots. He is known to wear a red cape to show his support of "Da Revolushun".
Miniature Review
Now I know that Da Red Gobbo is a 40k miniature, and I don't really have an Ork army despite having picked up a number of miniatures from various box sets over the years, but I really wanted him for my Gloomspite army. You can never have too many squigs!
I also know I'm a bit late getting around to painting him as it's a Christmas miniature, and it's now June. I just wanted to get through other bits in my backlog, but felt like having a small break before starting another big project.
The miniature is really cool, I love the antlers on the squig with the baubles decorating him nicely. The smoking dynamite adds some extra height and movement as he charges full speed across the snow.
Painting Techniques
Bounca
Gums
Barak Nar Burgundy & Bugmans Glow 1:1
Skin
Mephiston, Khorne Red and Gal Vorbak Red thinned as a glaze, focusing in deeper recesses each time. Also use Gal Vorbak Red to add some freckles to the skin.
Squig Orange & Fire Dragon Bright 1:1 to highlight raised areas
Eyes
Teeth & Antlers
Baneblade Brown & Deepkin Flesh 1:1 mix, and watered down to glaze on. Then use watered down Baneblade Brown to shade the recesses, then the same again with Steel Legion Drab.
Claws
Use thinned Dark Reaper to add a chunky edge highlight. Then Thunderhawk Blue as a thinner edge highlight on the sharper points. Finally, use Fenrisian Grey as a dot highlight.
Da Red Gobbo
Coat
Mephiston Red & Incubi Darkness 1:1 mix thinned recess wash, then apply again 2:1 in the deepest recesses Glaze on Mephiston Red to help smooth blends.
Beard and Jacket Trim
Apply Apothecary White as a shade, mixed with contrast medium. Use Corax White and White Scar with a stippling action to highlight
Dynamite
Use two medium Grey Seer lines down the front and at the top to highlight. Then highlight that with White Scar to give it a glossy appearance.
Skin
Thin the Ork Flesh and glaze a few times to build contrast. Use thinned Incubi Darkness as a recess shade. Use Nurgling Green as a thin glaze to highlight the raised areas. Mix Screaming Skull & Nurgling Green 1:1 for the final highlight
Trousers, Boots, Belt Buckle
Use thinned Dark Reaper to add a chunky edge highlight. Then Thunderhawk Blue as a thinner edge highlight on the sharper points. Finally, use Fenrisian Grey as a dot highlight.
Silvers, Lights & Baubles
Mix Nuln Oil & Nuln Oil Gloss 1:1
Cloth
Rhinox Hide & Doombull Brown 1:1 mix thinned recess wash
Label Text
Mix Doombull Brown & Abaddon Black 1:1 to paint the word 'RED' to the gun label.
Golds
Shade with a 1:1 of Reikland Fleshshade & Reikland Fleshshade Gloss.
Teeth
Lenses & Medal Straps
Chunky highlight with Teclis Blue, then an extreme highlight with Fenrisian Grey. Use Blue Horror for lens reflections and the corners of each medal strap.
Smoke
Mix 1:1 thinned down Black Templar and Apothecary White to the recesses. Apply the same again to the top two thirds, then again to the top third so the smoke gets darker the further away from the flame it is. Thin grey seer and add it to some raised areas, followed by White Scar. Use the Wild Rider Red as a thinned glaze to the cord and smoke, then highlight with Fire Dragon Bright, and finally a 1:1 of Yriel Yellow and Fire Dragon Bright to simulate the flame.
Base
Large Cable
Small Cable
Lights
Baubles
Grenades
Snow
Apply Blue Horror, then Fenrisian Grey as a wash.
Wood
Mix Doombull Brown & Abaddon Black 1:1 and thin to apply an all over shade. Add lines of Steel Legion Drab to give the appearance of wood grain, and reinforce with Baneblade Brown.
Foliage
Use thinned Ork Flesh as a recess shade, then highlight with Straken Green.
Roundup
I painted Da Red Gobbo in the same way as Skarsnik following this YouTube tutorial by Siege Studios. Shout out to them for a great tutorial and showing me how to paint in a style that's quite different to how I normally paint. There's a lot less reliance on washes and a lot more time spent highlighting up, which makes for some great vibrant colours. Thinning down layer paints to use as washes and glazes was also a first for me, but I really like the effect!
