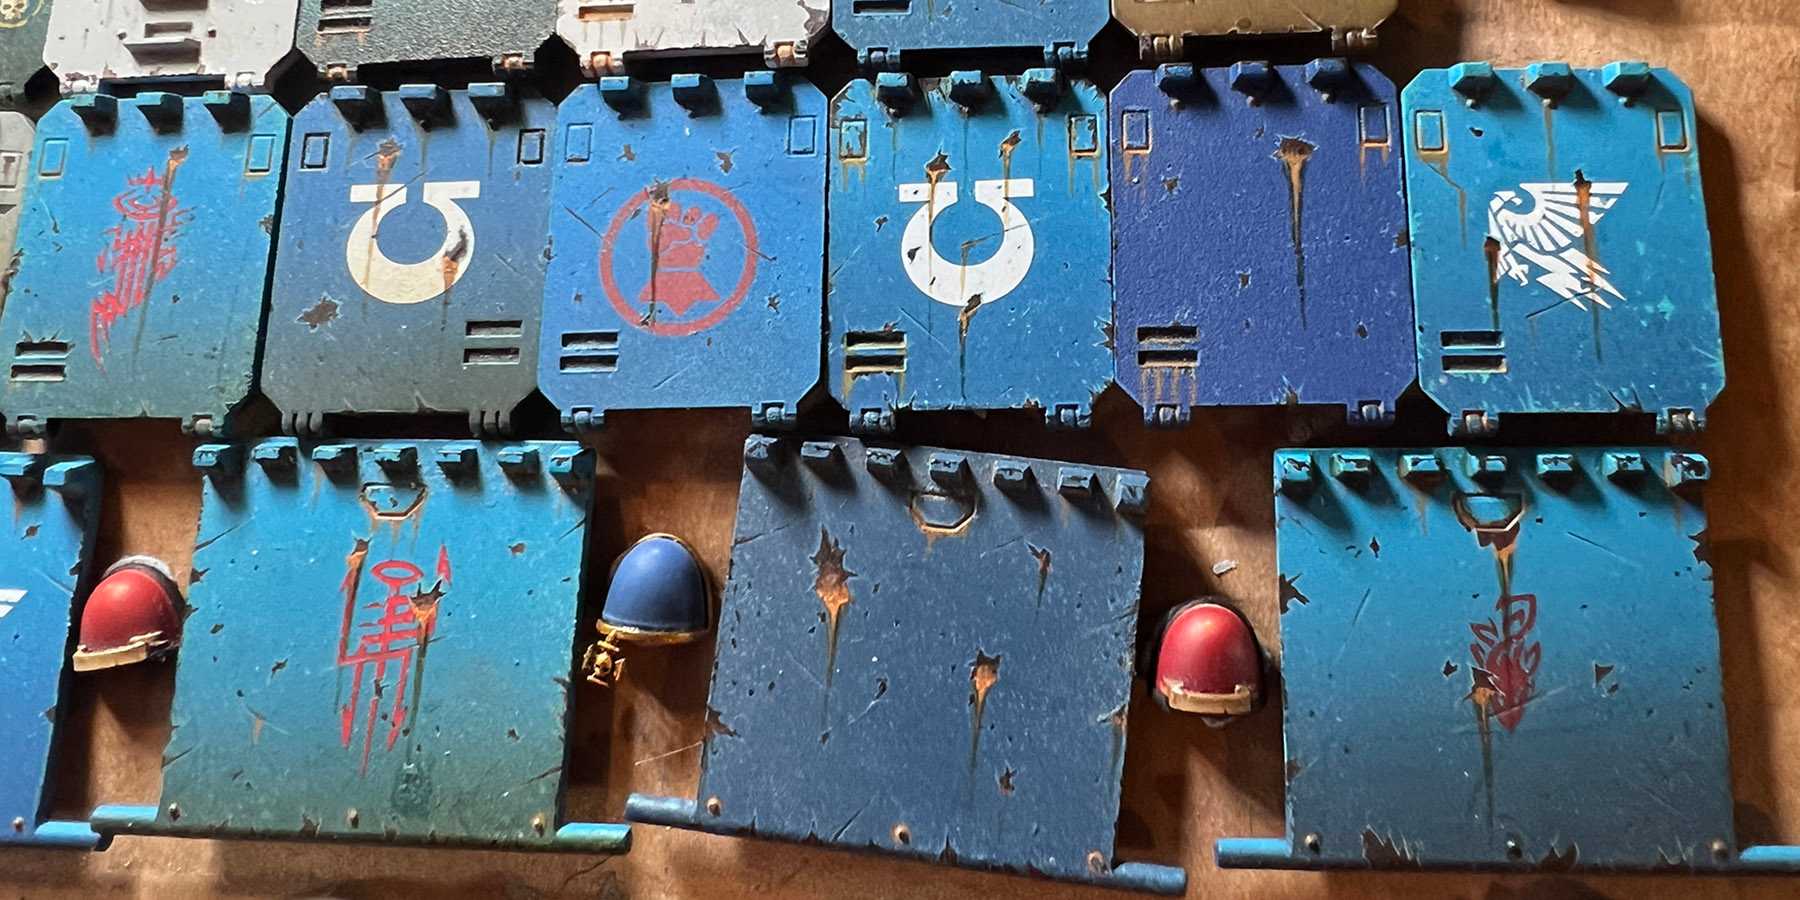
Weathering Chips
Step 1
Paint the armour panel, applying edge highlights and transfers.
Step 2
Very finely sponge on the edge highlight color in random areas, each time coming from different directions. This should be done so lightly it's barely noticeable and is done more to add a bit of visual interest to the flat areas rather than adding chips. That part comes next.
Step 3
Paint on the edge highlight color (in this case Lothern Blue) in irregular shapes. To help make them look realistic use varying triangles and squares connected together using sharp lines to create unique shapes. These should be bold and stand out as they'll essentially end up as the final edge highlight.
Ensure these chips are small, remember the scale of the miniature and how big the chips would be scaled up.
Step 4
Fill in the created chip using a dark brown, leaving the smallest border of previous color as possible.
Step 5
Fill in the bottom third of the chip with a reddish brown. One color is enough, but the more tones you add the more realistic it will look.
Step 6
Add a Seraphim Sepia wash from the bottom of the chip straight downwards to create the streak. You can apply more layers closer towards the top to create a gradual fade as it runs down.
Step 7
Make a thin wash using Jokaero Orange and apply it to the bottom third of the chip and halfway down the streak.
Step 8
Use Fire Dragon Bright to apply dots within the orange washed area. Repeat with a bright yellow, but make smaller dots and add less of them. Once again the more oranges and yellows you add in this step the more realistic it will become.
Weathering Recesses
Applying weathering to recesses is a very similar process to the weathering above within the streak. First add a Seraphim Sepia wash in and around recesses, then pull it down to create the streak.
Next make a wash using Jokaero Orange and apply to a finer area closer to the recess. Repeat with Fire Dragon Bright, once again applying it to a smaller area.
Scratches
Step 1
First paint a thin straight line in one stroke using the armour highlight color. Apply less pressure as you finish the line to create a sharper point compared to the start, showing the direction of travel of the bullet.
Step 2
Apply a equally thin line in the same style above the first line, slightly overlapping it. The original line acts as the highlight to the brown line that is the actual scratch.


