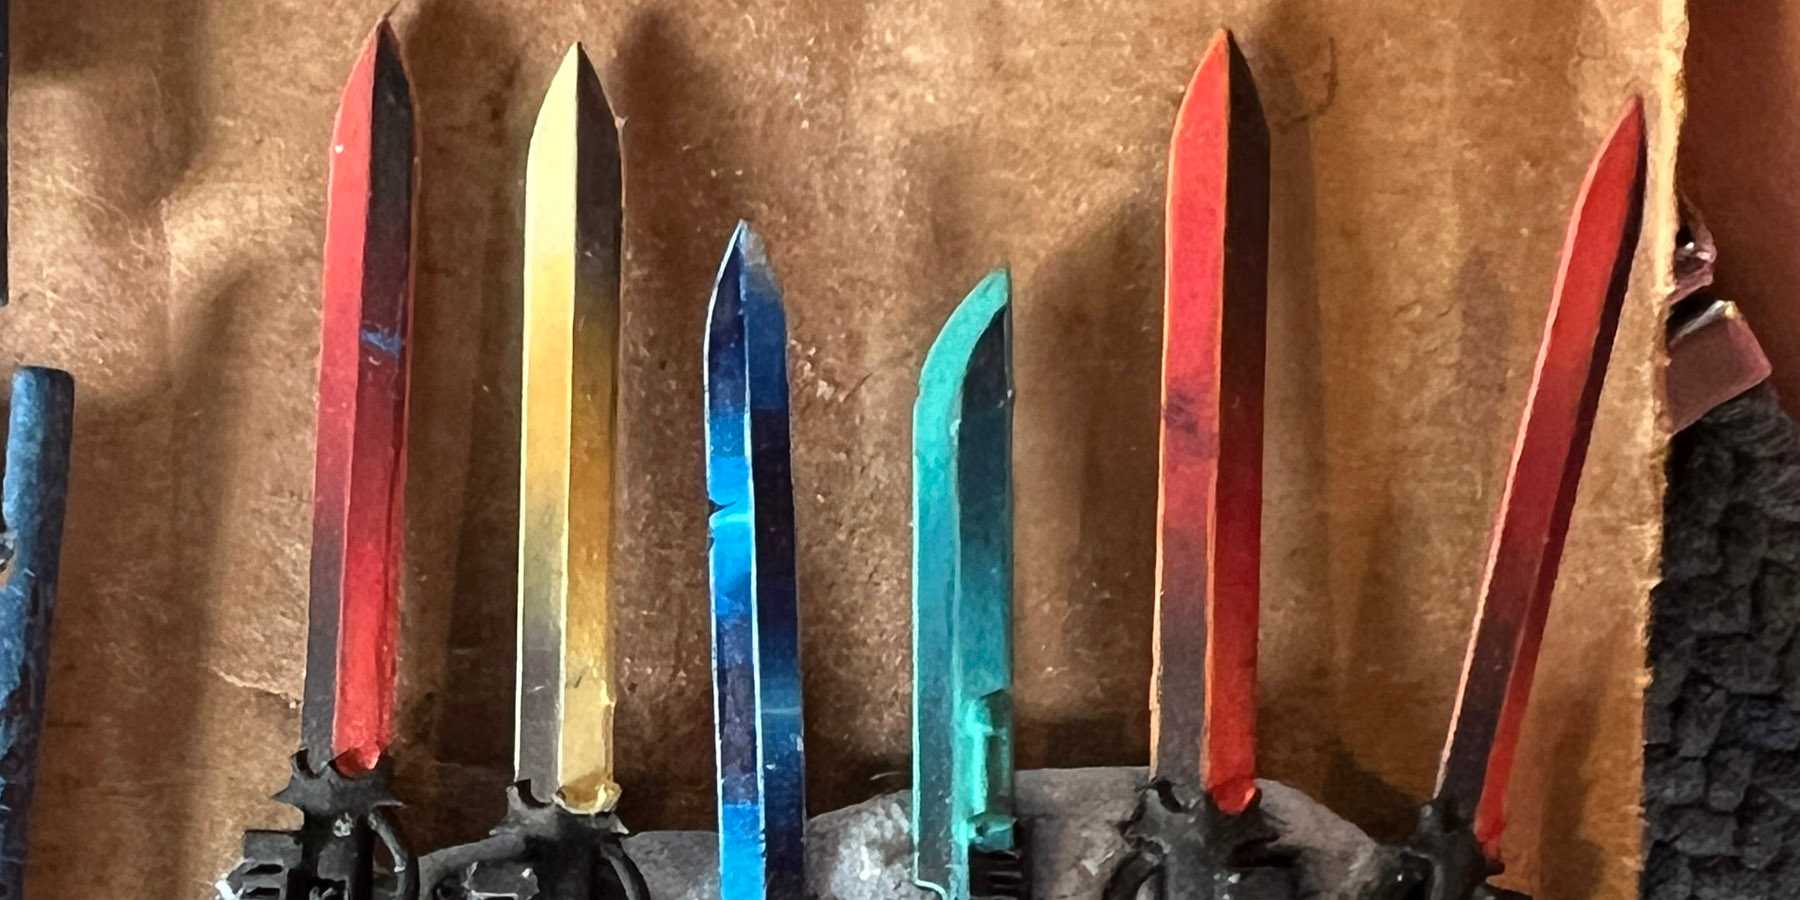
When painting power weapons you can select a triad of any colors. In this case I've selected three greens. You also want a light yellow or other bright color to mix with the lightest triad color to create the brightest highlight.
Note white desaturates colors so something like yellow tends to work best.
The other tip for this is to use a hairdryer between each step. As you'll be doing a lot of glazing it will speed things up significantly between each step. It was also help prevent pooling in certain areas that can lead to tidemarks.
Step 1
Create a flat layer of the middle triad color. Apply thinly with multiple layers to build up to full vibrancy.
Step 2
Paint the bottom third of the left side, and the top right of the right side with the darkest triad color. Once again this should be done using a few layers to keep a smooth surface and ensure it's as dark as it will go.
Step 3
This stage is where you blend the two colors together via a series of many many glazes. Ensure paints for all stages from here on in are well thinned to ensure a smooth finish.
Using the mid triad color start with the brush half way in the dark area, then pull it towards the center of the blade into the matching color. As the paint is thin it will pool at the end. This can be stippled a small amount in the opposite direction back towards the darker tone to create a more opaque blend.
Now repeat this using the darker triad color, this time starting at the edge of the third where the two colors meet, pulling down to the darkest point of the blade. Once again stipple the formed pool in the opposite direction.
Repeat these two steps over and over again until you finally have a smooth blend between the two colors.
Step 4
Next it's time to repeat step 2 but in the opposite thirds using the brightest of the triad colors, again with multiple thin coats to get the full vibrancy.
Step 5
This is effectively a repeat of step 2, now blending the two lighter colors together.
Using the mid triad color start with the brush half way in the light area, then pull it towards the center of the blade into the matching color. Stipple any pooled paint a small amount in the opposite direction back towards the lighter tone.
Now repeat this using the lighter triad color, this time starting at the edge of the third where the two colors meet, pulling down to the lightest point of the blade. Once again stipple the formed pool in the opposite direction.
Repeat these two steps over and over again until you finally have a smooth blend between the two colors.
Using the thirds technique means that despite having blended the darker tones together you still have pure mid tone in the middle so this step won't interfere with what's already been done. It also prevents the distance of the blends from becoming uneven.
Step 6
With all the blending complete apply a very thin glaze of the mid tone over the whole blade. Avoid the brightest area when using very light colors so it doesn't lose the vibrancy. This helps bring the whole thing together and helps fade any remaining lines between the tones.
Step 7
Asa final step mix the lightest tone with the yellow (or other highlight color) and use it as an edge highlight. This should be applied along each edge as well as the middle to help create the contrast between the dark and light areas.# This is the only step that can be done with a slightly thicker paint as to achieve a neat edge you don't want to have to apply a large number of layers.

