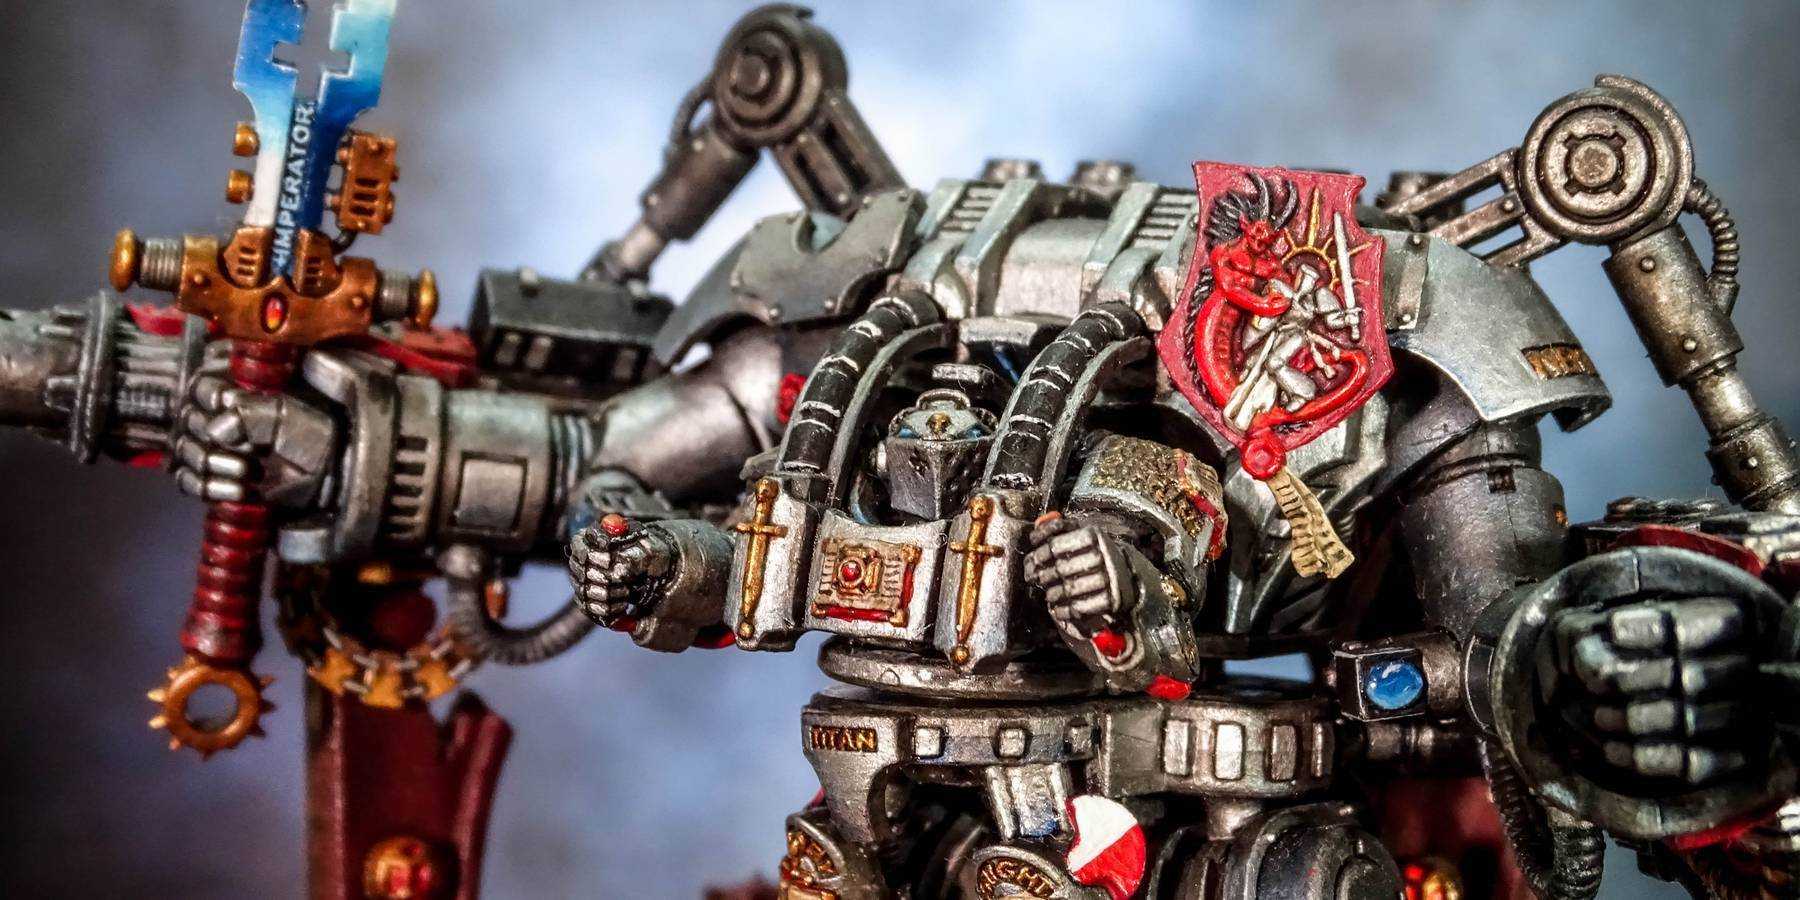
A Dreadknight pilot is connected via synaptic implants to the Dreadknight, which allows the pilot to control the weapon and movement systems. The mental strength and reaction speed needed to effectively pilot the Dreadknight is such that most Grey Knights do not pass the requirements. However, those that do are undoubtedly some of the most honoured warriors to ever belong to the Grey Knights.
This is by far the most complex miniatures I've ever painted. There is just such a huge amount of detail, and the flat areas needed a lot of work to get the shading to look natural. Despite the Nemesis Greatsword not being so great in games anymore as it no longer allows you to re-roll failed rolls to hit and wound, it still looks awesome so something I plan to continue using in games!
So far in all my games of 6th and 7th edition I've found my Dreadknight has played a key role in every game and is often the tipping point. When playing a tournament of 10 small 1000 point games only 1 army (Necrons) was able to take it down before the end of the game.
In larger games I find the Gatling Psilencer is my favourite weapon. 12 shots on a 3+ on average I'm getting 10 hits. S4 so usually a 4+ to wound, so 5 wounds on a squad, no AP so usually 2-3 kills. It may not be the best, but you're pretty much guaranteed those kills each turn, whereas risking using the Heavy Psycannon as a template weapon always has the chance to miss completely. It also now has Force, meaning a solid chance of a couple of instant kills a game, but unfortunately no longer with the aid of precision shots.
The Heavy Psycannon now has a focused fire mode which is a real buff, meaning 6 S7 AP 4 shots, rather than a template. You should get 4 hits that way, which unless the other play has particularly bunched up their army, and you roll well, you normally won't get much better than anyway. It's also great for focusing on characters and weak vehicles.
Finally, a growing favourite, the Heavy Incinerator. I've always had the problem with the range being low, normally I would only get to fire it once before charging in, which seemed like a waste. However, getting a torrent template S6 AP4 can cause a huge amount of damage to infantry heavy armies. The idea is to get just close enough to use it to its maximum effect and hope that you kill enough, so they can't charge you in their following turn due to the distance between you and them increasing due to their loses. Next turn you can move away faster than they can and do the same again, causing massive damage and usually not taking much in return, thanks to Sanctuary giving a 4+ invulnerable save! When their units getting low charge in and fish the rest off as long as you know you're not going to get swarmed.
In close combat the Dreadknight is not as great as it used to be, as mentioned before due to the Greatsword nerf. However, with two power fists you're getting 5 S10 AP2 hits on the charge, hitting most of the time on 3s due to WS5 and all at I4, plus an I10 Hammer of Wrath S6 hit. That's going to squash most units and cause really problems to tanks. Just make sure you're not getting swarmed, as you're only going to be getting 2-4 kills a turn and even though you may not take any wounds in return you can easily get bogged down for the game and never make your points back.
The final thing I really love about the Dreadknight is the personal teleporter, Jump Monstrous Creature anyone?! 12" movement and move over anything or re-roll your charge distance. On top of that once a game shunt 30" in any direction. That is so often a game changer and is worth it despite costing 30 points. Hey, it was worth it back when it cost 75 points! It lets you escape a situation where you could lose your Dreadknight, let you capture an objective you would never be able to otherwise, or most often put you into a really vulnerable position for your opponent. It's very difficult to defend against and is perfect for taking down tanks and other units that hide at the back causing the most damage, because once you're behind them it's often too late before the other player can react.
Anyway, those are my thoughts on my favourite unit possibly in the entire game. Let me know your thoughts and check out more photos below!


