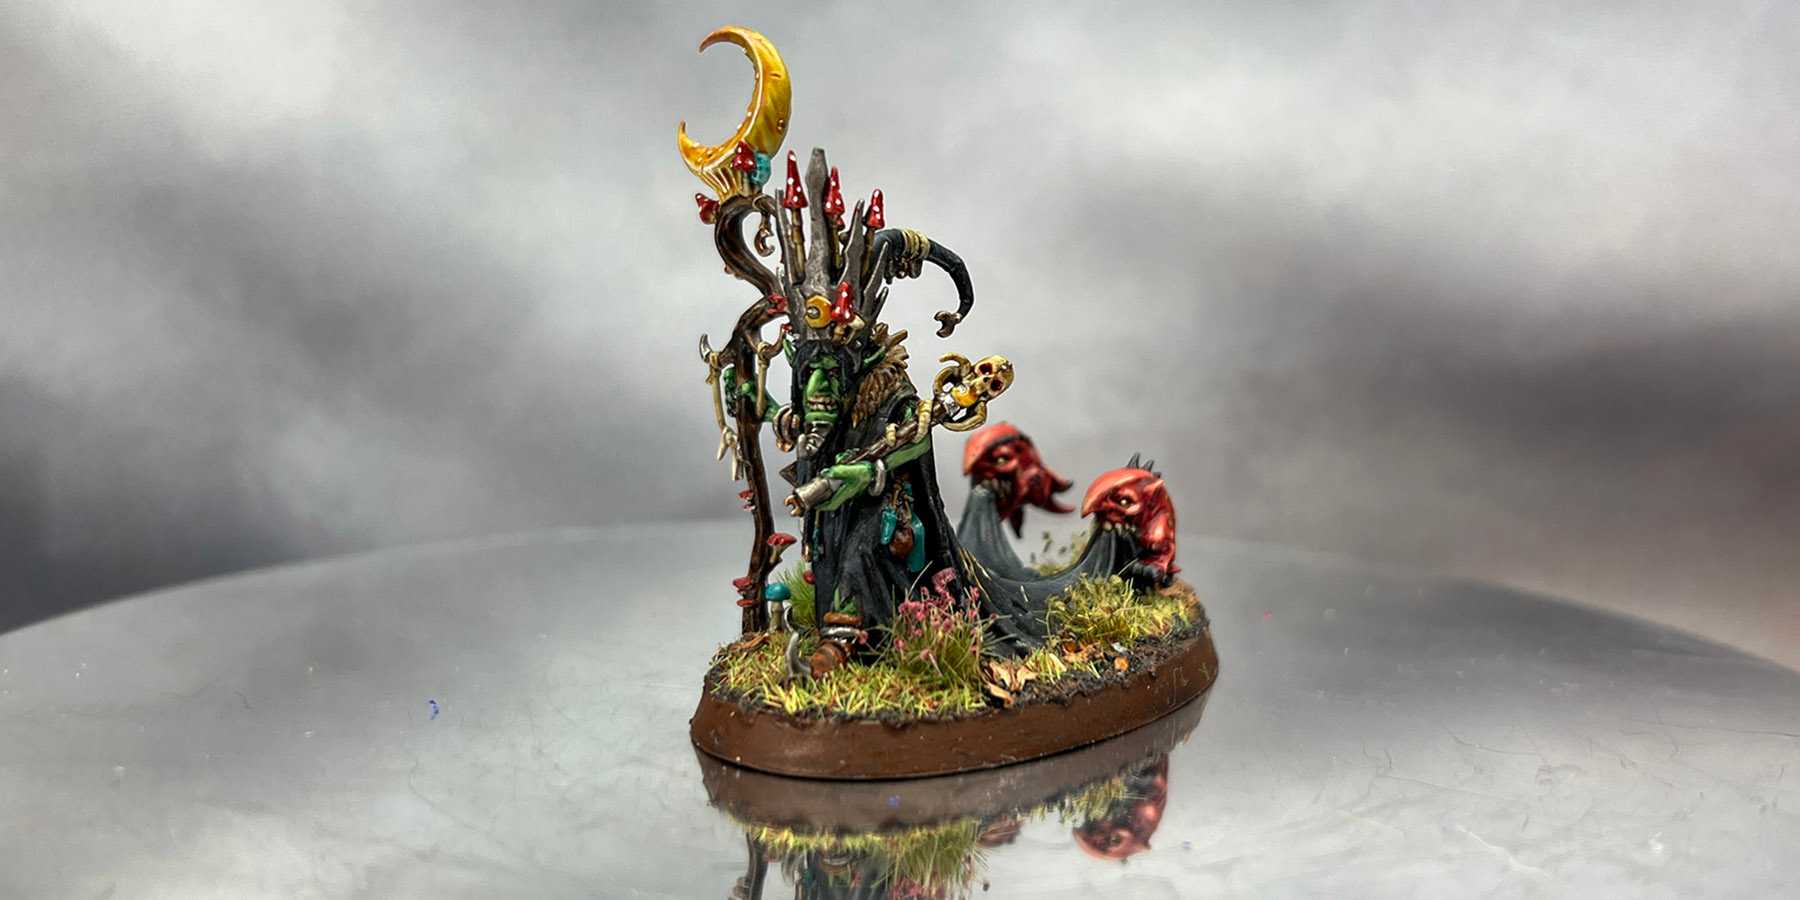
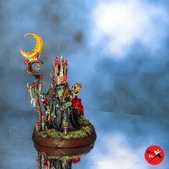
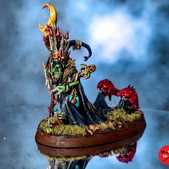
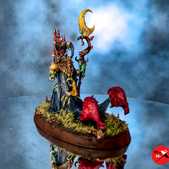
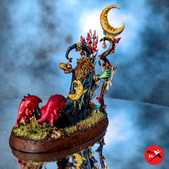
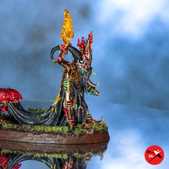
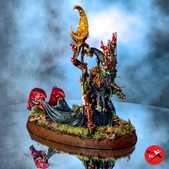
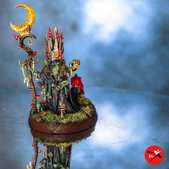
Skragrott the Loonking is the self-styled overlord the Gloomspite Gitz. His sinister presence upon the field of battle ensures his fellow grots fight with greater spite and cunning than ever.
Miniature Review
With the new range of Gloomspite Gitz (maybe not that new now!) I decided I had to get at least one, so I decided to go for the leader, Skragrott the Loonking. I've always added mushrooms to my Gloomspite miniatures, so having one that is half mushrooms, with them even growing out of his brains is amazing.
Having both the crown mixed amongst the mushrooms, and the loyal squigs carrying his royal robe behind him really identifies him on the battlefield as the leader. The moon fungus gives him both additional height, and a bright beacon to easily spot him amongst the rest of the army.
It's also great to see a lot of little details. Mushroom potion vials, talismans, moons, jewelry, a spider skeleton and tons and tons of various fungi. It gives you a lot to look at, but because they're all mostly small it doesn't draw your focus away from the focal points.
Painting Techniques
Along with Skragrott I also purchased the full range of contrast paints. They're marketed as an alternative method of painting. You either use the traditional method of base, layer and highlight, or you use the contrast range and just add a bit of highlighting.
Personally I plan to use them alongside each other. I think they'll work great for softer materials where I normally rely on shades to quickly get a base level of shading and highlighting which can then be added to when needed. For harder materials like metals I don't think they'll create the smooth finish I'm after, but could work great to replace the old glaze paints when thinned down.
Before starting, I gave the miniature an initial basecoat of Grey Seer. Whenever starting an area with a contrast paint I made sure to paint over any spills with the Grey Seer paint to ensure an even base layer.
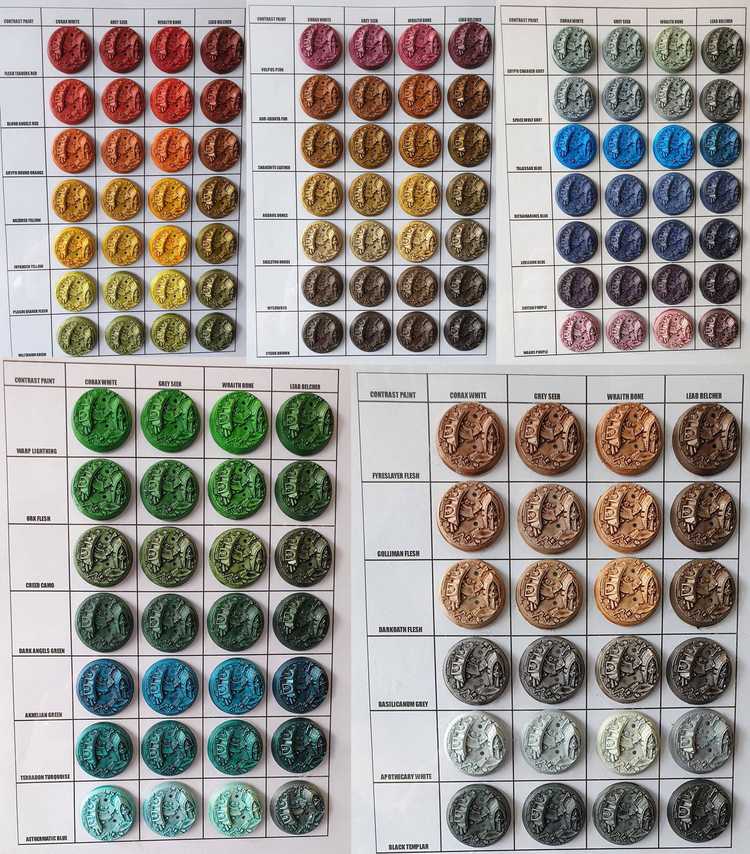
Skin
Cloth
Use multiple layers of Black Templar and a thin layer of Ultramarine Blue.
Silver
Copper
Bark
Only apply a thin layer of Gore Grunta Fur to give some variation when the Wyldwood is applied over the top.
Fur
Leather
Bone
The Blood Angels Red and Flash Gitz Yellow were used to create the eye glow effect.
Teeth
Yellows
Red Mushrooms
The Corax White is used for the dots.
Bottles & Mushrooms
The Terradon Turquoise was painted into the recesses, and the Corax White was thinned and applied to reflective areas.
Squigs
Skin
The Flesh Tearers Red was applied to areas of shadow.
Spines
Eyes & Spots
Teeth
Basing
I started by adding a thick layer of Stirland Battlemire, then applied a shade of Agrax Earthshade and a drybrush of Tallarn Sand. I then applied some Citadel Scorched Grass in patches as well as some Leaf Litter. Finally, I painted around the edge of the base with Rhinox Hide, then Mournfang Brown.
Roundup
It was interesting testing out the contrast paints on a Games Workshop miniature. I had already tested them out on some miniatures I wouldn't otherwise paint just to see how quickly I could produce half decent results (it turned out to be around an hour a model). This was the first time using them when painting at a high standard (for me at least!).
I find the paints to produce quite unpredictable results, which isn't always ideal but can produce natural results. I am new still new to them so maybe after some more use I can learn to apply them in a more predictable way. It can be a pain going over every mistake with Grey Seer but at least the next layer always goes on quick.
I'll be messing around a lot more with the contrast range, but it certainly won't be replacing my current technique. Having them will definitely be a great tool to have at hand though, much like the technical paints and weathering paints and powders.
